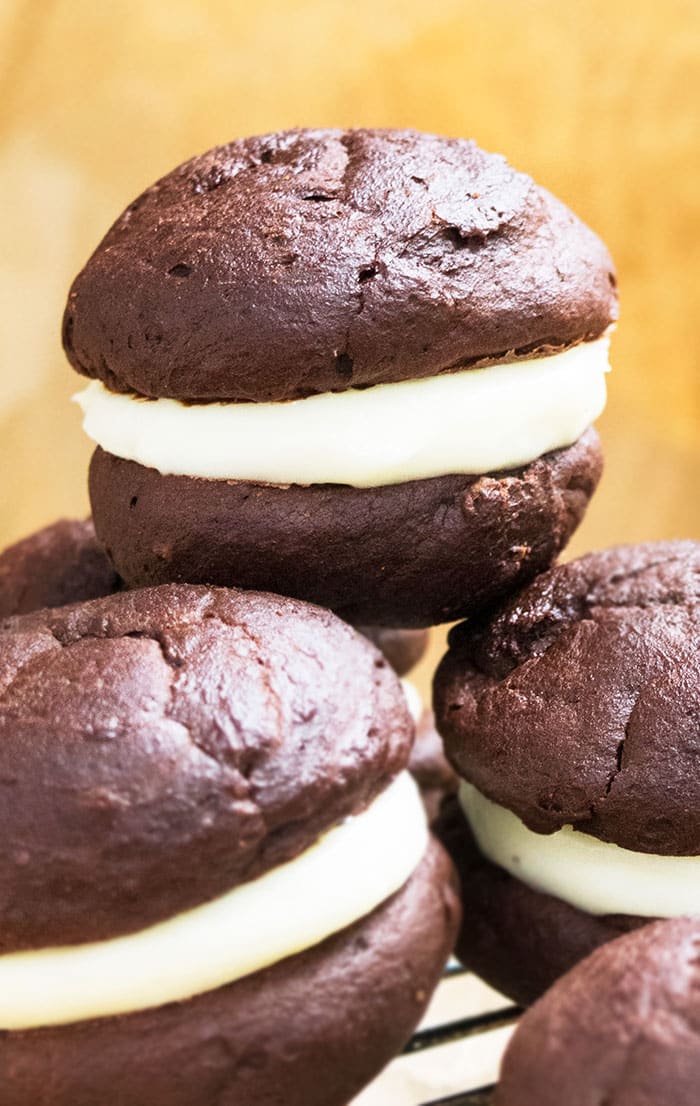
Easy Whoopie Pies From Cake Mix A Simple Recipe
Whoopie pies from cake mix: this simple dessert transforms everyday cake mix into delightful, soft, and creamy filled treats, perfect for any occasion.
Equipment
- Mixing Bowls (various sizes)
- Electric Mixer (handheld or stand mixer)
- Measuring cups and spoons
- Baking Sheets
- Parchment Paper
- Spatula
- Wire Rack
- Cookie Scoop or Spoon (for consistent sizing)
Ingredients
- 1 box (15.25 oz) cake mix (any flavor)
- 1/3 cup vegetable oil
- 1 large egg
- 1/2 cup milk or water
- For the Filling:
- 1/2 cup (1 stick) unsalted butter, softened
- 3 cups powdered sugar
- 1/4 cup milk
- 1 teaspoon vanilla extract
Instructions
- Step 1: Prepare the "Pie" Batter: In a large bowl, combine the cake mix, vegetable oil, egg, and milk (or water). Mix until just combined; avoid overmixing. The batter will be thick.
- Step 2: Drop onto Baking Sheet: Drop rounded tablespoons of batter onto a parchment-lined baking sheet, leaving about 2 inches between each. These will spread slightly.
- Step 3: Bake the "Pies": Bake in a preheated oven at 350F (175C) for 12-15 minutes, or until the edges are lightly golden and a toothpick inserted into the center comes out clean.
- Step 4: Cool the "Pies": Remove from the oven and let cool on the baking sheet for a few minutes before transferring them to a wire rack to cool completely.
- Step 5: Prepare the Filling: While the "pies" are cooling, prepare the filling. In a large bowl, beat the softened butter with an electric mixer until light and fluffy.
- Step 6: Add Powdered Sugar: Gradually add the powdered sugar, one cup at a time, mixing well after each addition.
- Step 7: Add Milk and Vanilla: Add the milk and vanilla extract, and beat until the filling is smooth and creamy. Add more milk, one tablespoon at a time, if needed to reach the desired consistency.
- Step 8: Assemble the Whoopie Pies: Once the "pies" are completely cool, turn half of them upside down. Spread a generous amount of filling onto the flat side of each of those "pies". Top with the remaining "pies," flat side down, to create a sandwich.
- Step 9: Serve and Enjoy: Serve immediately or store in an airtight container in the refrigerator. Tips and Substitutions: For a richer flavor, use melted butter instead of oil in the "pie" batter. Cake mix flavors can be varied to taste (chocolate, vanilla, red velvet, etc.). Filling variations include using cream cheese frosting or adding peanut butter to the buttercream. For a gluten-free version, use a gluten-free cake mix.
Notes
Variations
- Ingredient Swaps: The use of applesauce instead of oil in the cake batter can create a healthier alternative. Different extracts, such as almond or peppermint, can be added to the filling for unique flavor profiles. Additionally, substituting brown butter for regular butter in the filling imparts a nutty depth.
- Regional Twists: Incorporating regional ingredients into the filling can add a localized flair. Examples include adding maple syrup to the filling in New England or using citrus zest in the filling in Florida. Spiced versions, with cinnamon, nutmeg, or cloves added to the batter, offer a seasonal variation.
- Dietary Adjustments: Gluten-free options are readily achievable by using a gluten-free cake mix and ensuring the powdered sugar is also gluten-free. For vegan versions, a vegan cake mix, plant-based butter alternative, and plant-based milk are necessary. Reduced-sugar options can be made by using a sugar-free cake mix and a sugar substitute in the filling.
Serving Suggestions
These treats can be served as a delightful dessert at casual gatherings, potlucks, or birthday parties. Serving them slightly chilled enhances the texture and prevents the filling from becoming too soft. They pair well with a glass of cold milk, a cup of hot coffee or tea, or even a scoop of vanilla ice cream. Presentation can be elevated by dusting them with powdered sugar or arranging them on a tiered dessert stand.
Storage Tips
To preserve freshness, it is essential to store them in an airtight container in the refrigerator. This prevents the cakes from drying out and maintains the filling’s consistency. Properly stored, they will typically remain fresh for 3-4 days. For longer storage, they can be frozen for up to 2 months. To thaw, transfer them to the refrigerator overnight. It is recommended to let them sit at room temperature for about 30 minutes before serving to soften the filling.
Frequently Asked Questions
- Question 1: Can the filling be made ahead of time? The filling can be prepared up to 2 days in advance and stored in an airtight container in the refrigerator. Allow it to soften slightly at room temperature before using.
- Question 2: Why are my cakes flat? Overmixing the batter can lead to flat cakes. Mix until just combined, and avoid overworking the gluten.
- Question 3: Can I use a store-bought frosting instead of making the filling? Store-bought frosting can be used as a convenient alternative, but homemade filling generally provides a better taste and texture.
- Question 4: What if my filling is too thick? Add milk, one tablespoon at a time, until the desired consistency is reached.